Bracket and Stand for the iPad Mini
October 15, 2013
For my second project utilizing the 3d printer, a Solidoodle, I wanted to design something from the ground up to solve a problem: find a way to better secure the iPad Mini in the car to appease the baby’s senses, i.e., keep the iPad hanging up so we can get his fill of ‘Baby Einsteins’ on a long car trip.
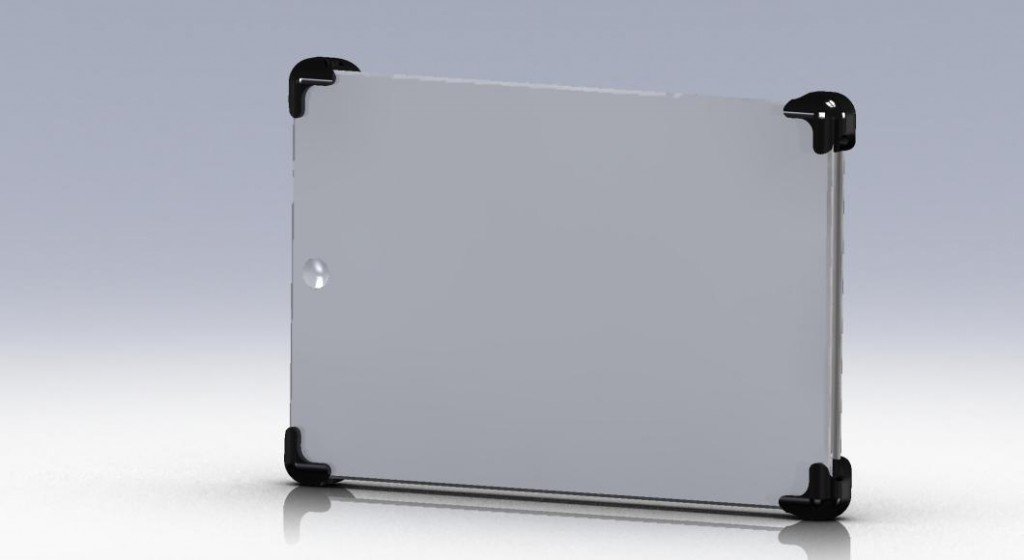
Concept 1: Corner Brackets
The first design utilized corner clamps held together by pressing aluminum rods into blind holes. The objectives of this design were to minimize the material noticed by the user and be rigid. The aluminum rods also have the added benefit of attaching auxiliary parts anywhere along their length.
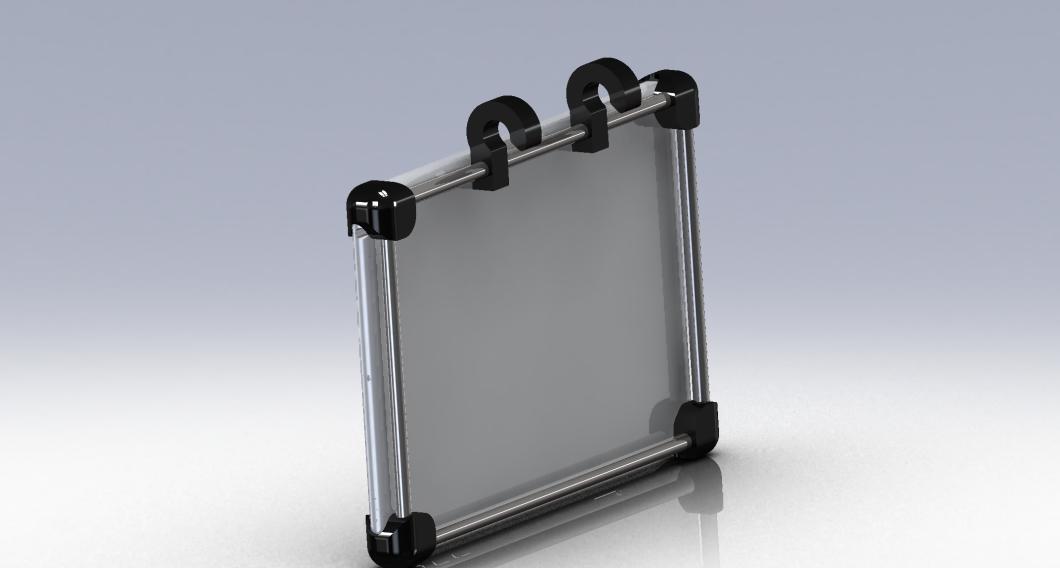 1st design: corner brackets, aluminum rod and hooks
While the design was aesthetically pleasing from the front, I discovered two issues that made me rethink my strategy:
- The press fit of the aluminum rods would eventually wear out the holes in the printed parts.
- Assembly/disassembly would take a few seconds to line everything up and would most likely end up in a frustrated mess on the floor
Here is the final print of the assembly. Sometimes you have to hold and interact with an object before iterating again.
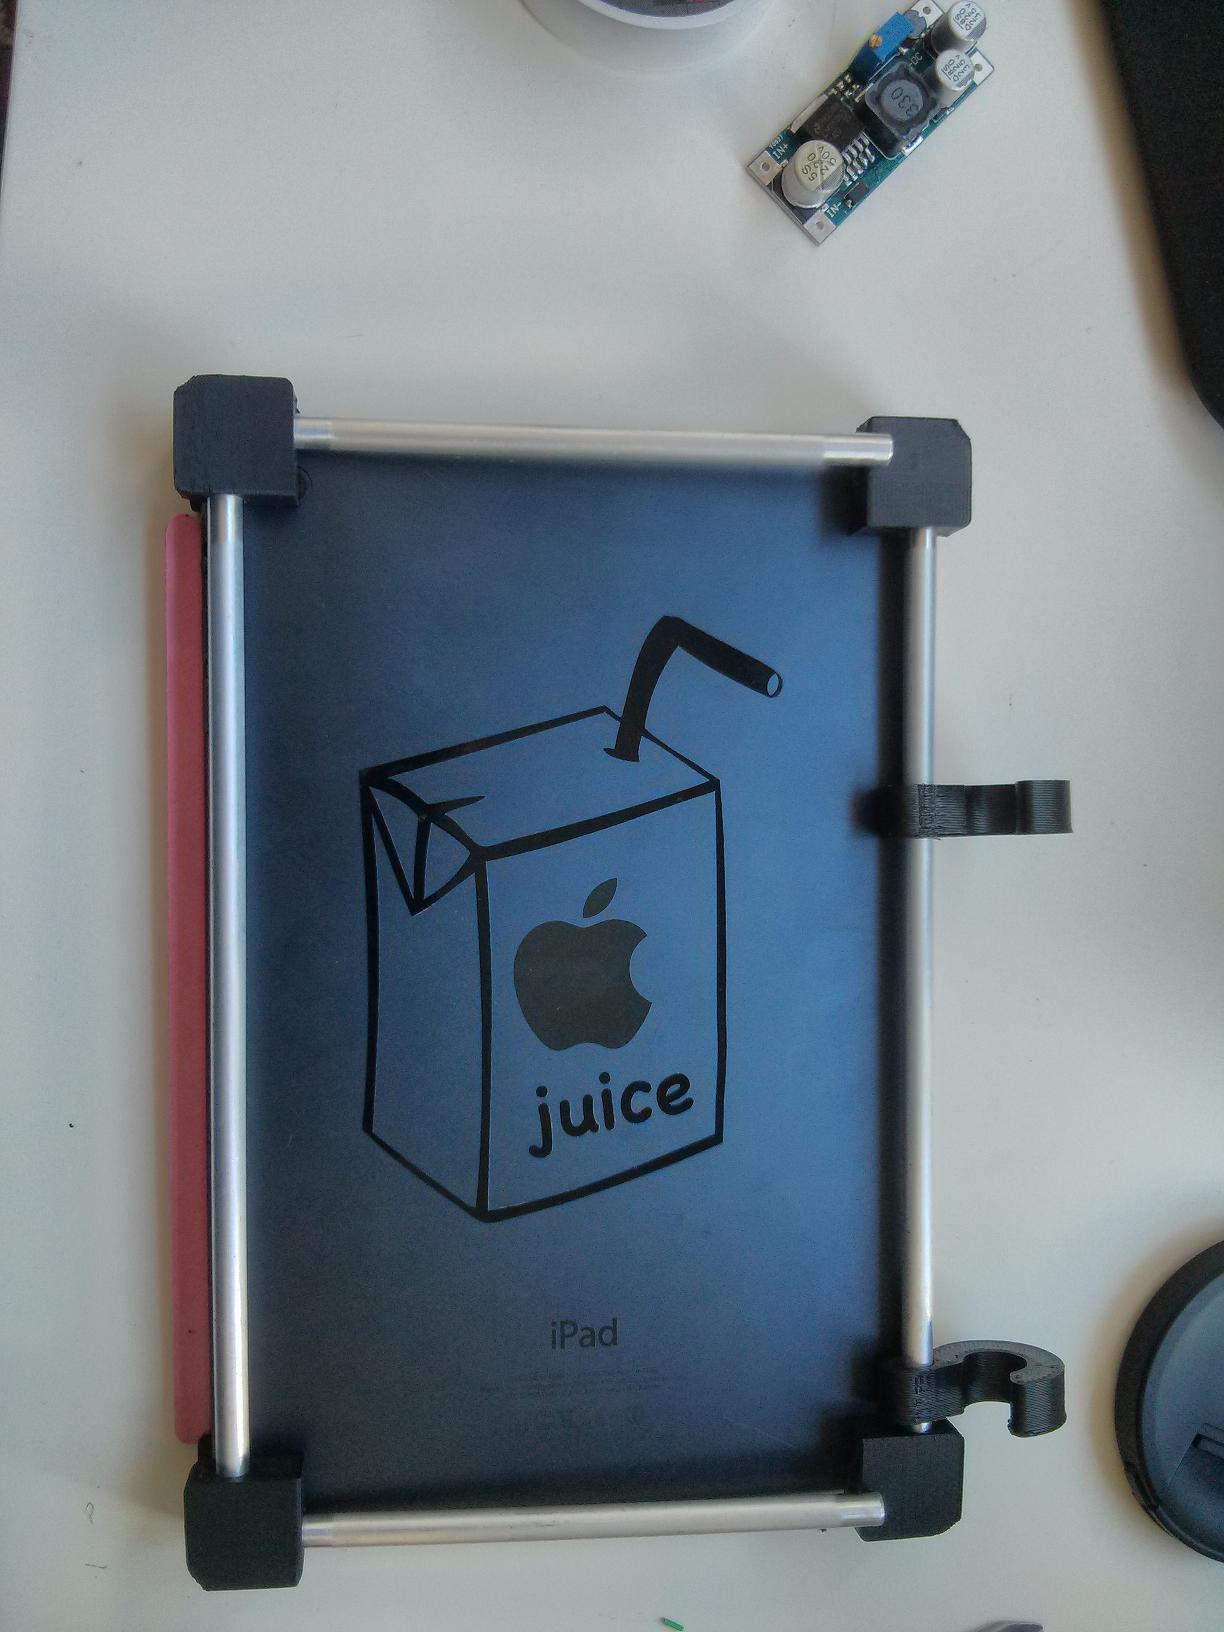 1st design: Final print
Design 2: Snap-on Bracket with Kickstand
Unhappy with the result of the first design, I took the suggestion from a colleague to just use a single piece to wrap around the edges. From there I tweaked the design to give a snug, but not overly tight (my wife may still disagree on this point) fit to the iPad. I reused some of the aluminum rod ordered for the first design and used it as a pin to attach the hook/kickstand part. After a few trials getting the Solidoodle to give me non-warping prints, which I’ll cover another day (and tweaking the design by tenths of mm’s), I finally had a good working solution. Below is a gallery of the CAD model, final product and some use cases.
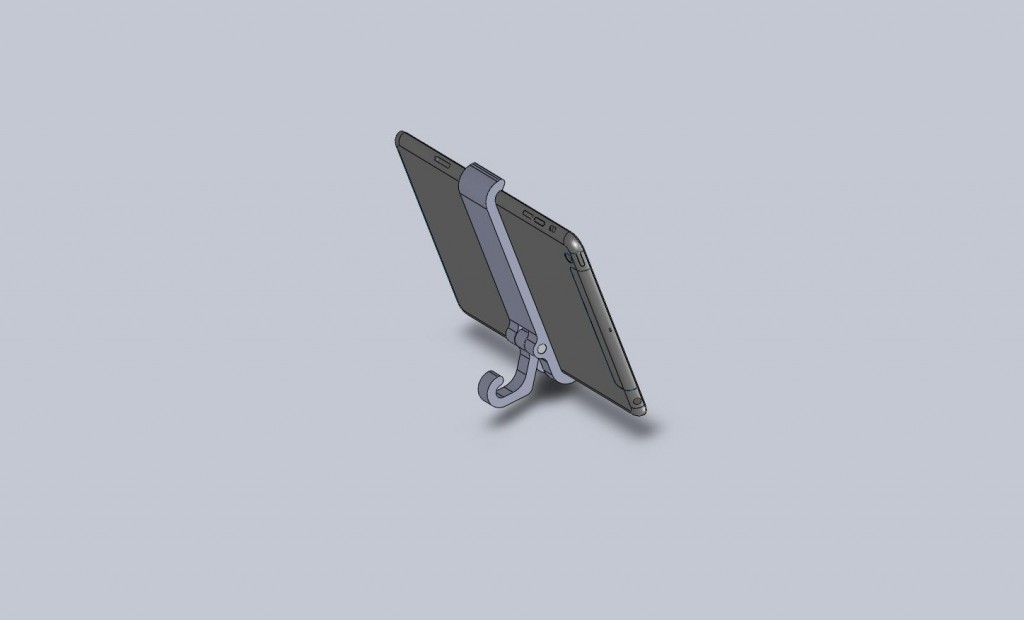
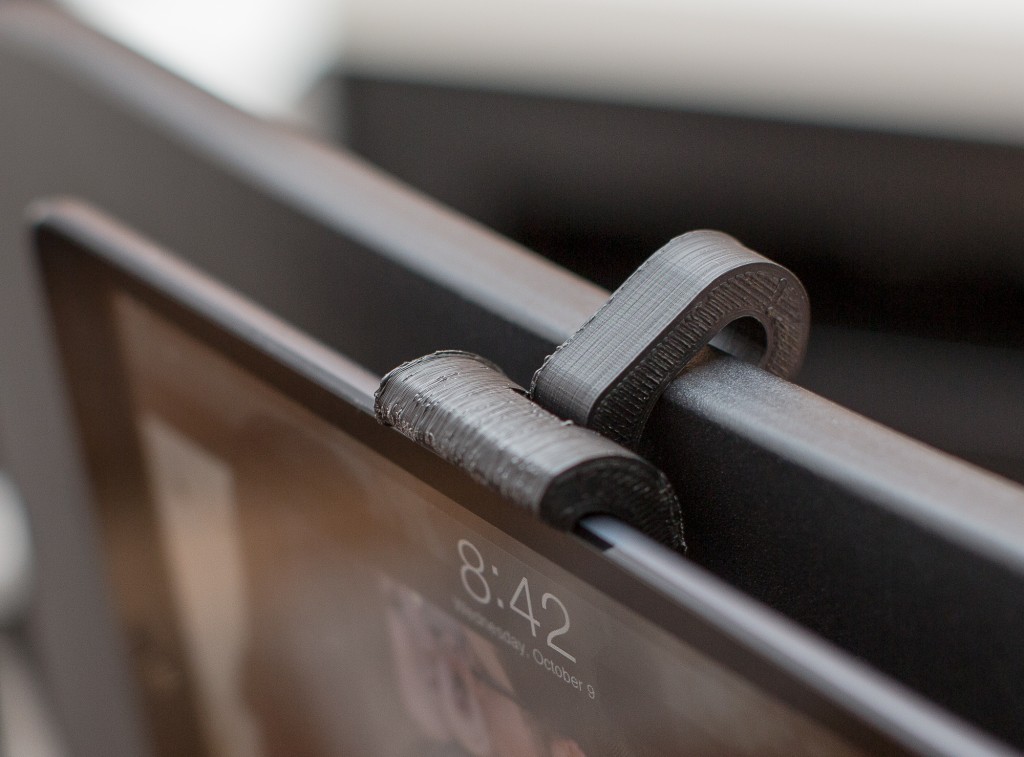
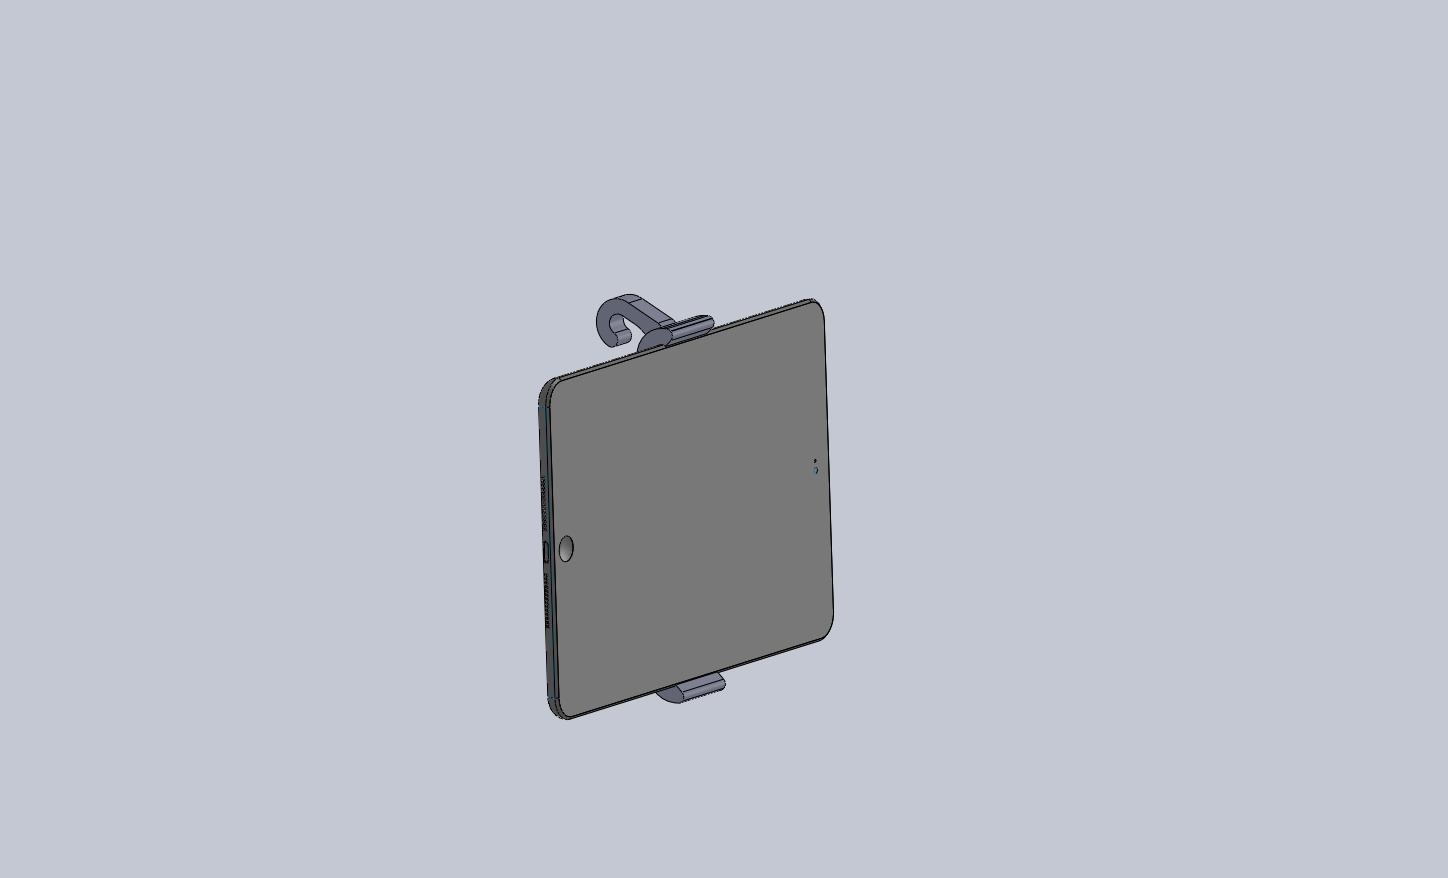 2nd design (rear): ‘Unibody’ clamp with pivoting hook
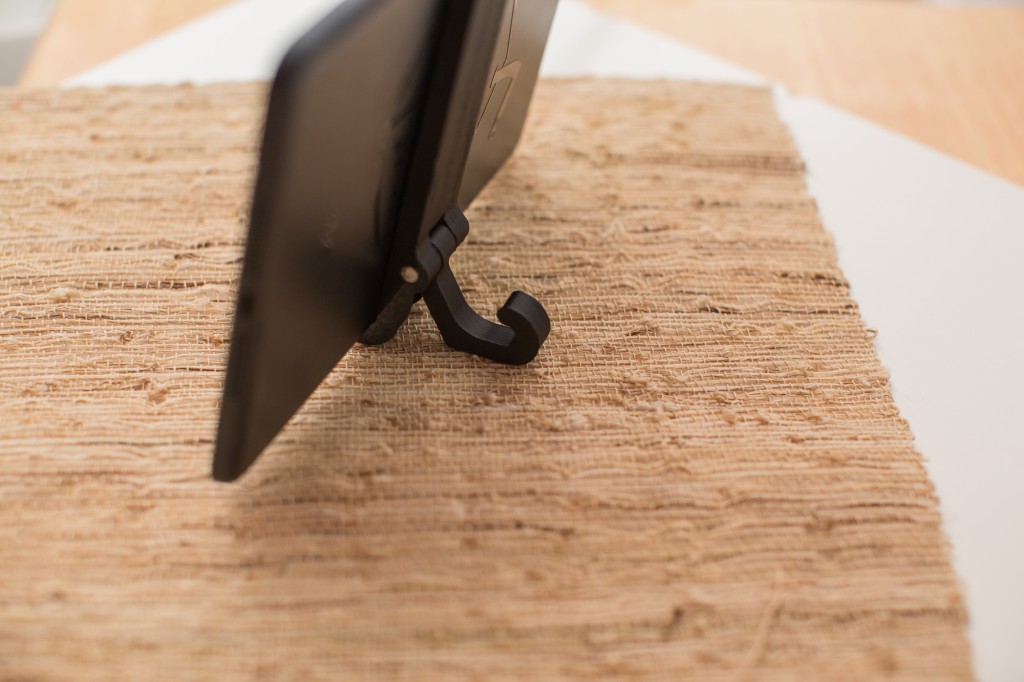
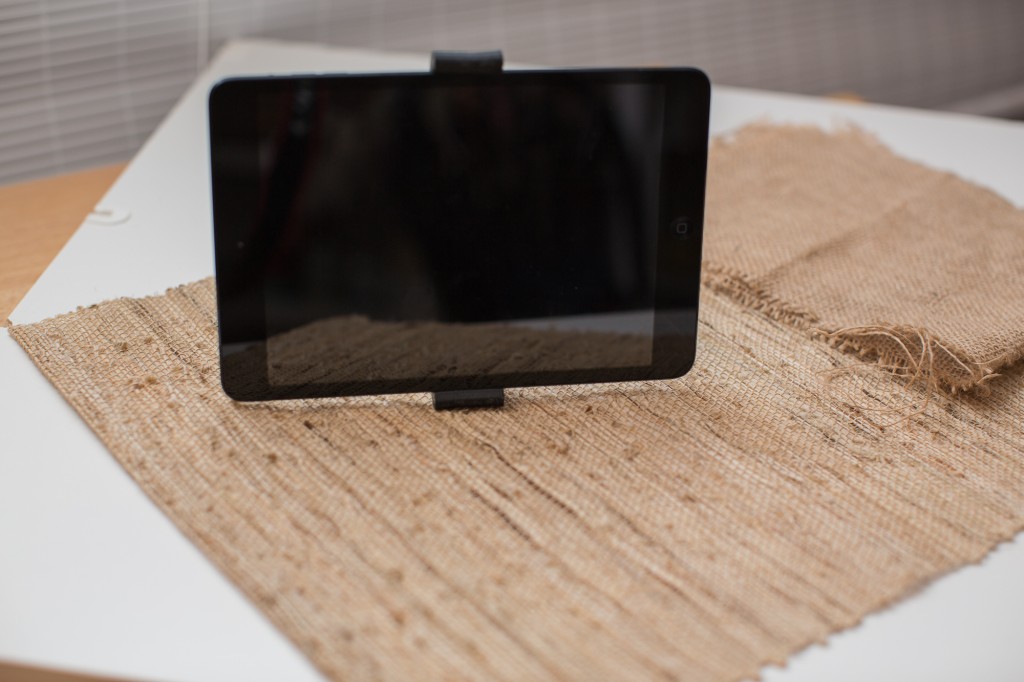
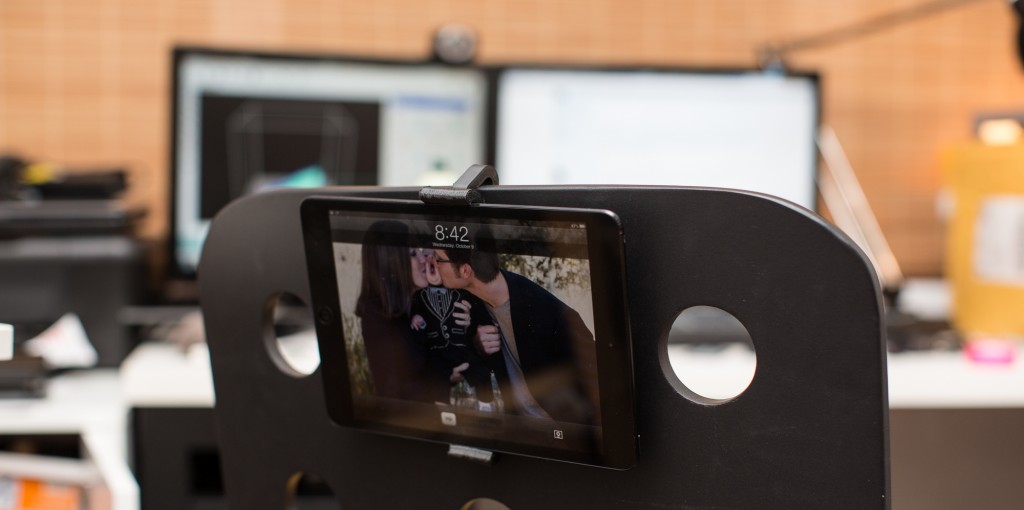
 2nd Design: Shown using the kickstand
This was another great learning opportunity in:
- industrial design: I have some aesthetic and finishing changes I would like to make
- mechanical design: clamping force and tolerancing for 3D printing
- user feedback: make sure the wife and baby are pleased users
- 3D Printing nuances: warping, thermal contraction, tolerances
Now, on to find more problems to solve (and taking a relaxing drive knowing the baby is content with his visual educational material).